
Unexpectedly, helping someone install a DELL laptop, dealing with a local account login and an activation issue, took more than ten minutes. All sorted from the internet, recorded here.
1. Choosing local account login during installation.
Microsoft's tightening of Windows 11 account policy has sparked controversy, with even the Pro version forcing Microsoft account binding, claiming to enhance cross-device experience and security verification, but actually including ad push and data collection. Users prefer local accounts because they are faster and avoid privacy leaks. Currently, the only effective workaround is to press Shift+F10 at the installation screen and enter "start ms-cxh:localonly" to directly jump to local account creation. It is unknown when Microsoft will fix this loophole.
After the system is installed and used for the first time, to shorten configuration time, you can choose to configure with the network cable unplugged.
1
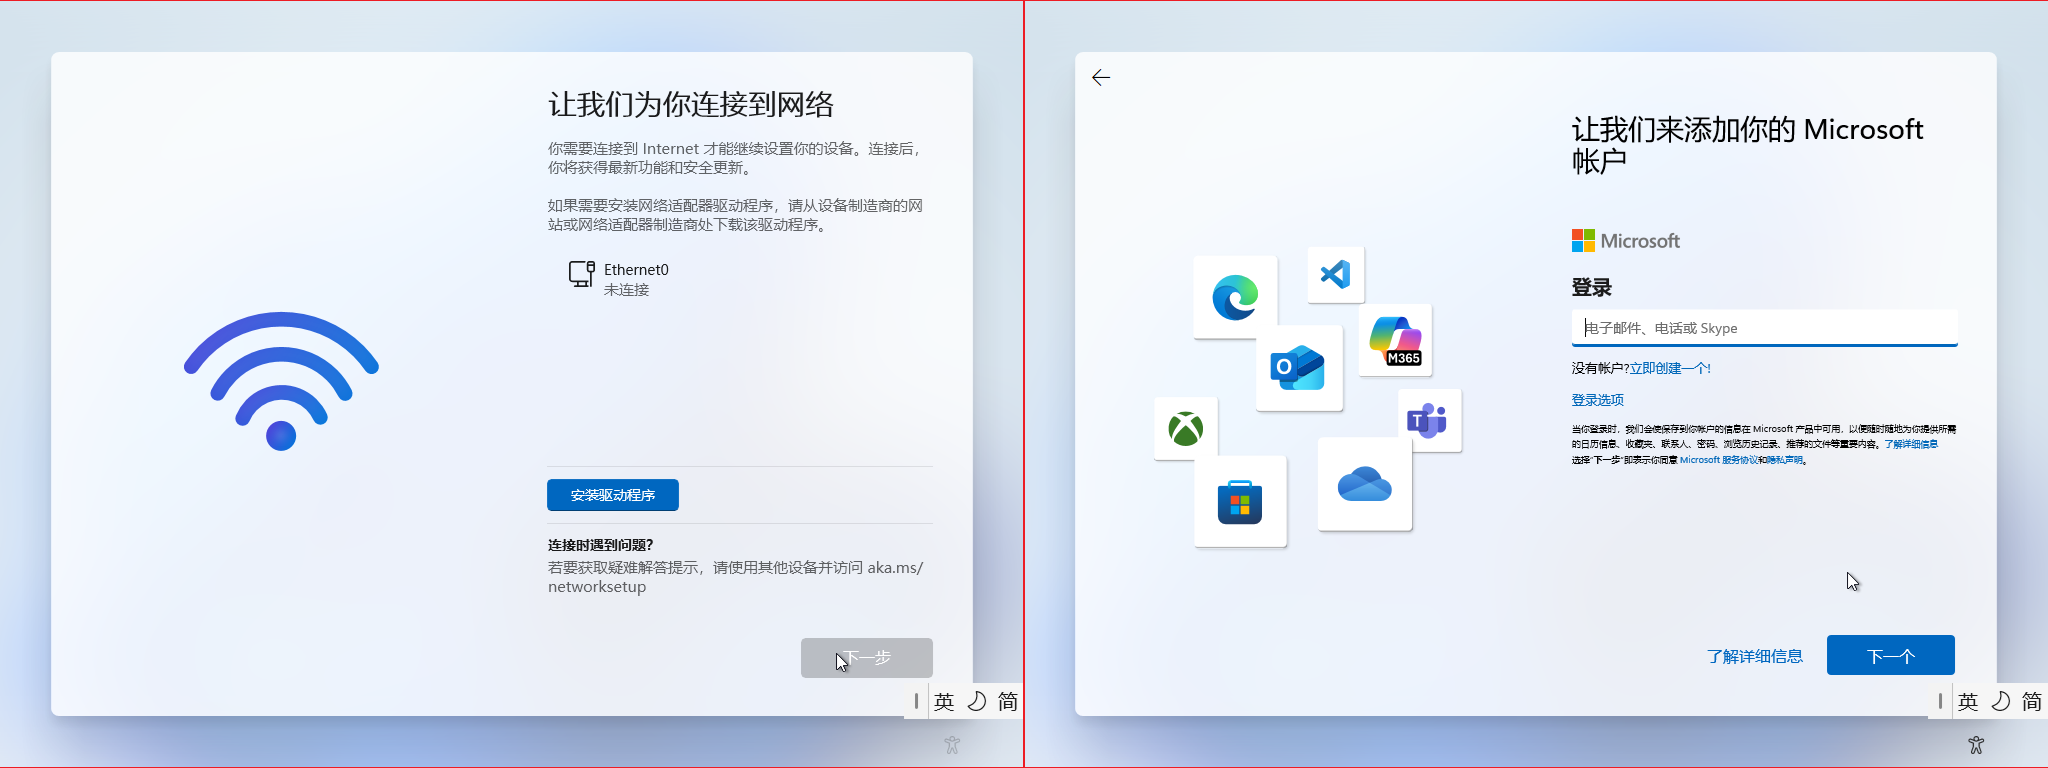
During Windows 11 installation, when you reach one of the following two screens, press Shift + F10:
2
In the pop-up small black window, type the following in English input mode and press Enter:
start ms-cxh:localonly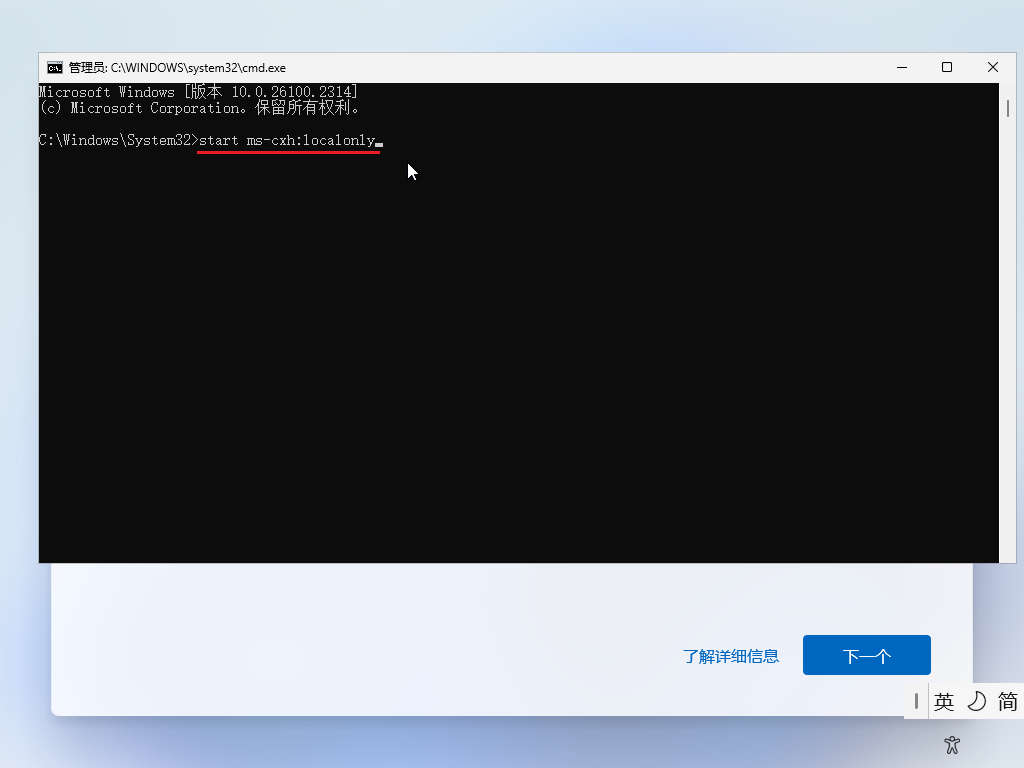
3
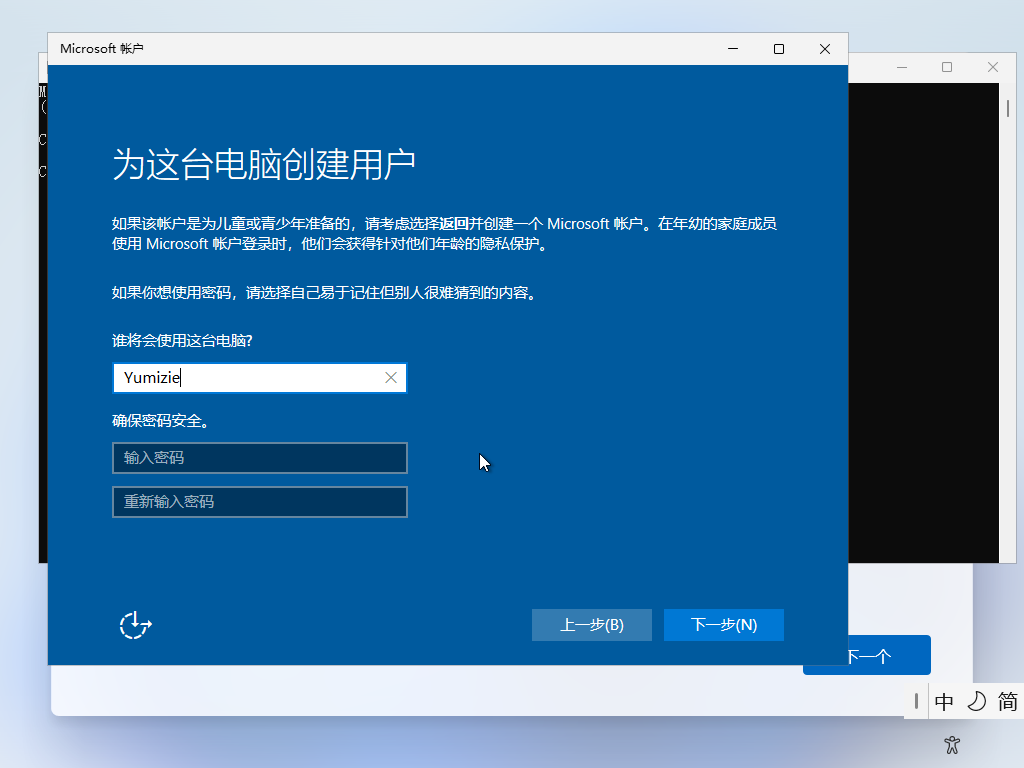
In the pop-up "Microsoft account" window, enter a username (for professional use, it is recommended to use numbers or English as the username), enter a password (you can leave it blank if you don't want to set one), then click "Next":
4
The following screen indicates success. Wait a moment, then configure other items to directly enter the system:

5
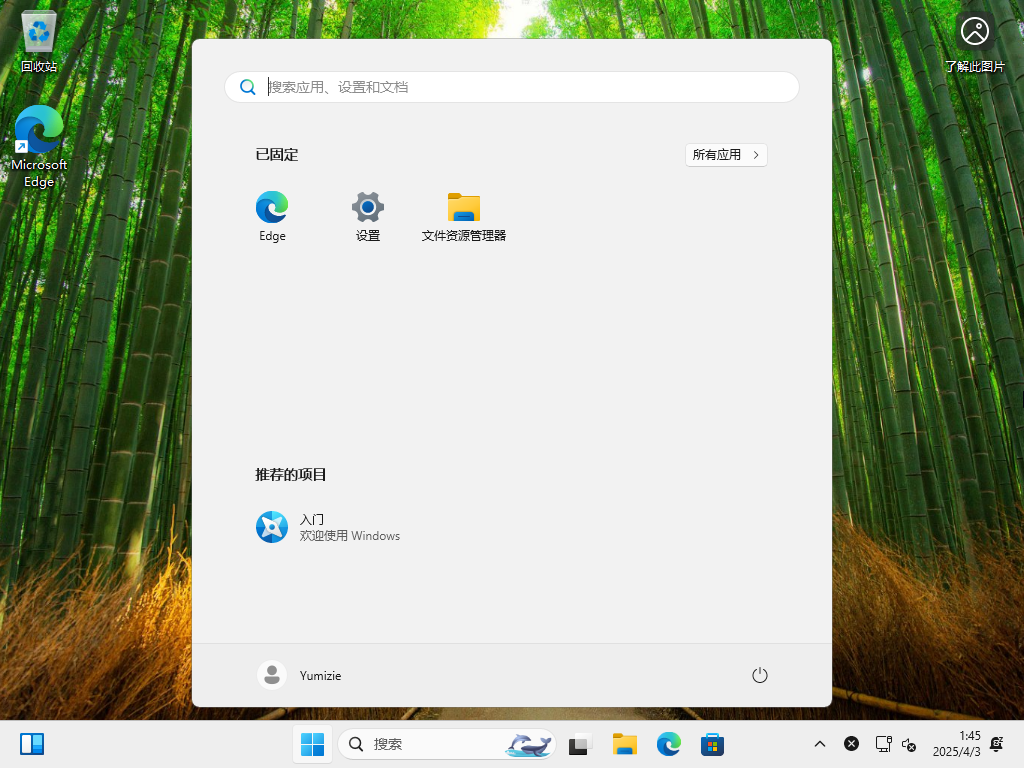
Successfully entered Windows 11 without being connected to the network, saving us a lot of time required for online updates:
Reprinted from: https://www.cnblogs.com/minuhy/p/18807070
Lao Lü's note: Even when connected to the network, it can succeed. I started from the right-side screen in Figure 1, no problem.
WIN11 Activation Command (Personally Tested)
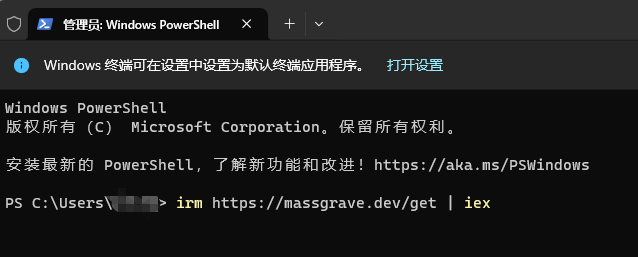
Execute the command in "Terminal (Admin)":
irm https://massgrave.dev/get | iex1
As shown:
2
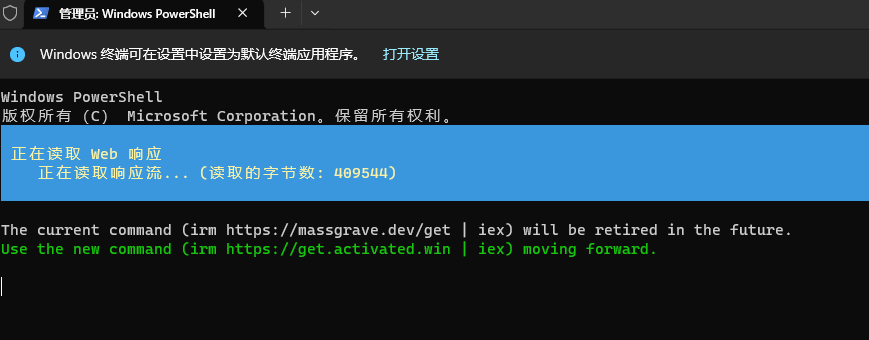
Execution process:
3
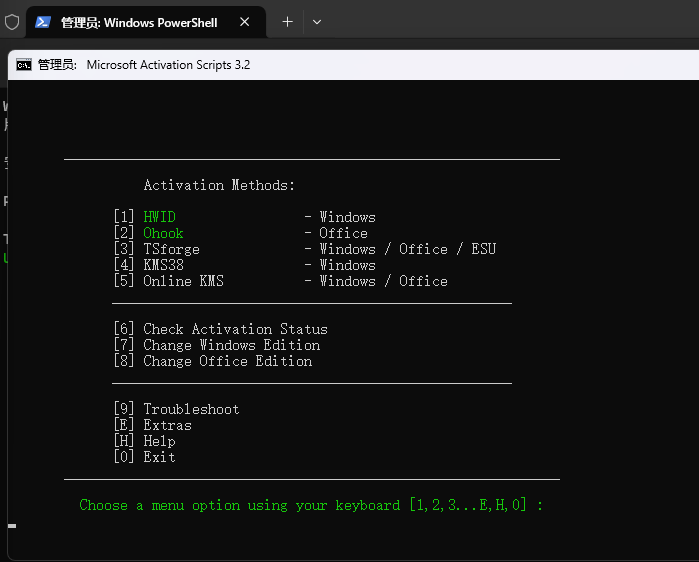
Wait, after execution, select the interface to activate the Windows system. Choose 1:
4
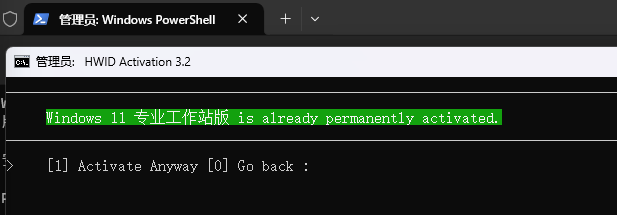
The image below is my already activated interface. The first activation interface is a bit different from mine; please judge for yourself. After activation, you need to restart the computer.
Reprinted from: https://www.cnblogs.com/chengangchn/p/18880263
Paragraph comments 0 · moderated
Comments 0 · moderated